The supplies:
paper to cover planner & chipboard (you can use the cardboard from a cereal box)
paper cutter, scissors, and glue
bind-it-all, zutter, or other like tool that uses o-wires (I used a Cinch tool)
and of course, the blog planner pages

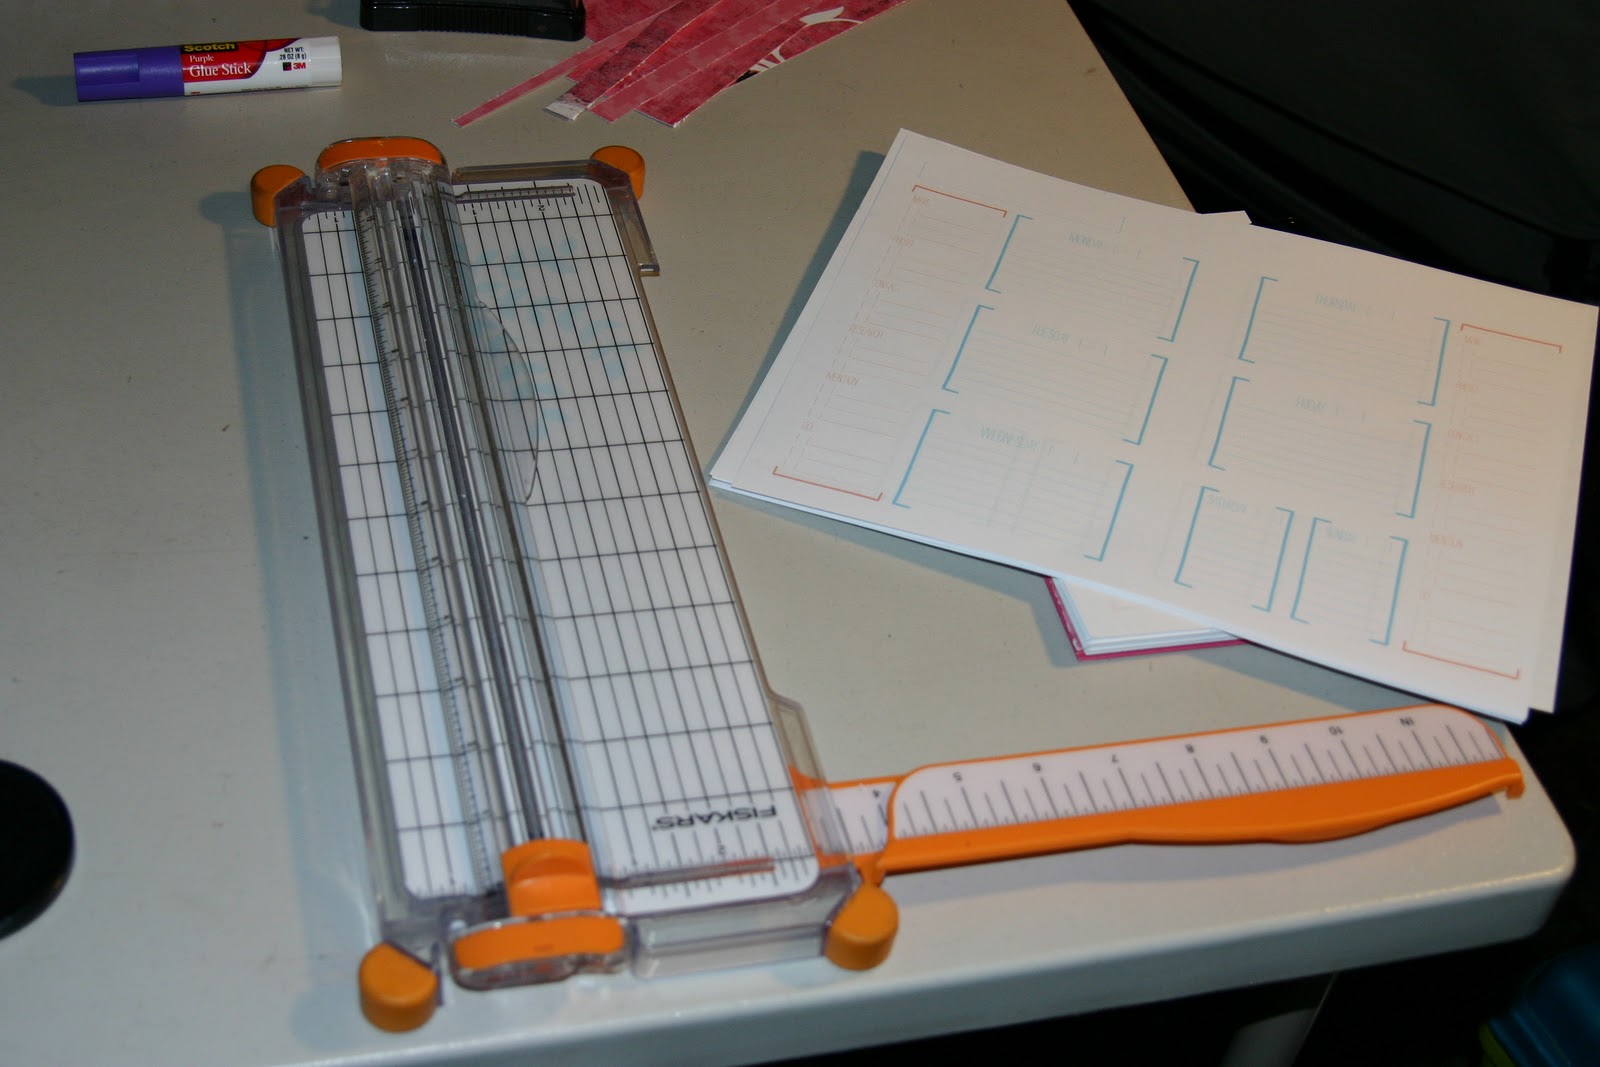
I started out by printing out the pages. I printed on both sides of the paper. I made enough for just under a year and a half. I did 35 sheets front and back and 1 sheet just on the front. I then used my paper cutter to cut the pages in half so that they were 8 1/2 by 5 1/2. The reason for the page that I only printed one-sided was so that the planner wouldn't start and end in the middle of a week.
 Once all the papers are cut, make sure they are all facing the same way. You have to use your binding tool to punch holes along the inside edge. The holes should go along where your cut was made down the center of the page. I like the Cinch tool because you can pull out the punches you don't want to use. It has 12 punches and I needed 16 holes for the planner. In order to achieve that I simply punched the first set of holes on all of my paper, then pulled out all but the fist 4 punches, flipped my paper over, and punched the remaining holes needed. Tip: always try punching on some scratch paper first to make sure your holes will be in the right spot.
Now that all of the pages are ready, we need to make the cover. Instead of me trying to explain all the details, I decided to just give you the link to the site where I learned how to make them. Click here to learn to make your own book covers. I may be wrong, but I think it tells you to make the cover slightly bigger than your paper. I didn't. My covers are the same size as the pages. They give specific sizes for their paper, but just make sure that your cover paper is an inch wider AND taller than your cardboard. Instead of cover the inside covers with an index card, I use matching paper or other paper that corresponds with the cover paper. I cut that paper about a quarter of an inch smaller than the cover in both height and width.

Once the covers are made, punch holes in the covers just like with the pages. Use an o-ring to bind your book together as it shows in the tutorial. On Robyn's and mine I cut another piece of paper slightly smaller than the cover to put on the cover as shown below. On my sister's, I had simply printed on the cover paper before gluing it to the cover.
 |
| Robyn's with her blog name printed on it |
 |
| My sister's |
 |
| My planner |
On the inside of all the planners, I created a corner pocket using extra paper. The insides of mine and Robyn's planners are shown below.
 | |
| Inside of my planner with my blog name on the first page. |
 | |
| I used more extra paper and some stickers to create Robyn's inside page. |
After I had made the first two and just had mine left to make, an idea struck me. It would be so nice to have a ribbon book mark attached to the planner! So, I did just that. Before gluing the inside cover paper onto the back cover I put in a grommet. I simple threaded the ribbon through it and hot glued it to the inside back cover. I then glued the paper for the cover on so that you don't see the excess ribbon.


So, there you have it! How to make your own Blog Planner! I hope this was interesting and educational! I just love the things you can find on Pinterest!
No comments:
Post a Comment