what this blog is about

This blog is an eclectic one, having a little bit of everything thrown in here. I hope you enjoy it!

Wednesday, February 29, 2012

February Pinterest Trial #2: Popsicle Stick Bracelets

I tried something from my craft board this time. I made bracelets out of large popsicle sticks! It was so easy! Here's what you need:

Popsicle sticks
rubber bands
a jar, vase, cup, or other round object that is about the same size as your wrist.


Here's what you do:

Step 1: Boil sticks for 15 minutes

Step 2: Gently start bending the sticks with your hands. I tried curving 7 sticks and one snapped. The instructions I followed said about 1 in 5 will snap, so I was lucky. By the way, it doesn't hurt when they snap so you don't have to flinch.

Step 3:Depending on the size of your wrist, and the size of your jar, vase, etc., either wrap the stick on the outside of the glass and secure with rubber bands, or put it inside the glass and just let it sit there.

Step 4: Okay, don't stress yourself with this one, wait for the sticks to dry. This took 4 days for me, but can take anywhere from 3-7 days. If you think they're dry, but aren't sure, pull one off and if it keeps it's form than it is most likely dry. You'll end up with wooden bracelets!
Step 5: Cover the bracelets with paper, twine, raffia, etc. I used red and straw colored raffia to cover two of mine. If you cover with paper, just use mod podge! I would suggest using a strait stick as a guide to cut your paper. And you're done! So easy!

Tuesday, February 14, 2012

Celebrate the Little Holidays

February 4th is Mailman Appreciation Day. We (everyone at the office I work at) like to celebrate those strange, wacky, little holidays. Since the 4th was a Saturday, we celebrated a day early. This is what we had waiting for our wonderful mailman, Dave.
We all signed the card and left it on the counter with our out-going mail. I had written a little poem at about 11:00 one night when I couldn't sleep that we put on the card. Hope you can read it in the picture below. It was taken with my cell phone camera which isn't very good.
He loved his little card and brought us a thank you card the following Monday. We are now on even better terms with this wonderful man!

Monday, February 13, 2012

February Pinterest Trial #1: Valentine's Day Wreath

Here is the first of what will probably be many Pinterest trials for this month! This one is a Valentine's wreath of argyle style hearts. It was super easy to make.

Supplies:
wreath form (I used a 12" Styrofoam wreath)
gray yarn
red and pink felt
hot glue gun
pen or marker
heart stencil or pattern
scissors 

My heart pattern was about 2 1/2" wide. Start by marking the hearts onto the felt and cutting them out. I used 6 hearts from each color of felt, 12 hearts in all. For a larger wreath, try 8 of each color.


Next, wrap your wreath form with the yarn. This was the most time consuming part of the project, and it only took me about twenty minutes (I had to stop every now and them to stretch my fingers). Use hot glue to hold the start of the yarn in place as well as the end.


Now, take your hearts and, alternating colors and direction, space them out on your wreath. Once you have them laid out to your liking, glue them down. Finally, take your yarn again and circle it around the wreath crossing over the heart going counter clockwise and clockwise to create the criss-cross pattern. Use some ribbon (I just used some of the yarn. I didn't have any ribbon on hand.) to hang the wreath up.

Tuesday, January 31, 2012

January Pinterest Trial: Blog Planners

I'm an organization freak! I stumbled across this on Pinterest. It sent me to a blog, which then credited another blog. Thanks to Sew Tara & Wild Olive who created these wonderful planner pages. You can get to the link for the template by clicking on either of the previous links. My interest in this started out as a birthday present for a blogging friend, Robyn of Oh The Things I Can Do, who mentioned that she wanted to start blogging almost daily. After making her planner, I had a great desire to make one not only for myself, but also for one of my sisters who has multiple blogs to manage.

The supplies:

paper to cover planner & chipboard (you can use the cardboard from a cereal box)
paper cutter, scissors, and glue
bind-it-all, zutter, or other like tool that uses o-wires (I used a Cinch tool)
and of course, the blog planner pages


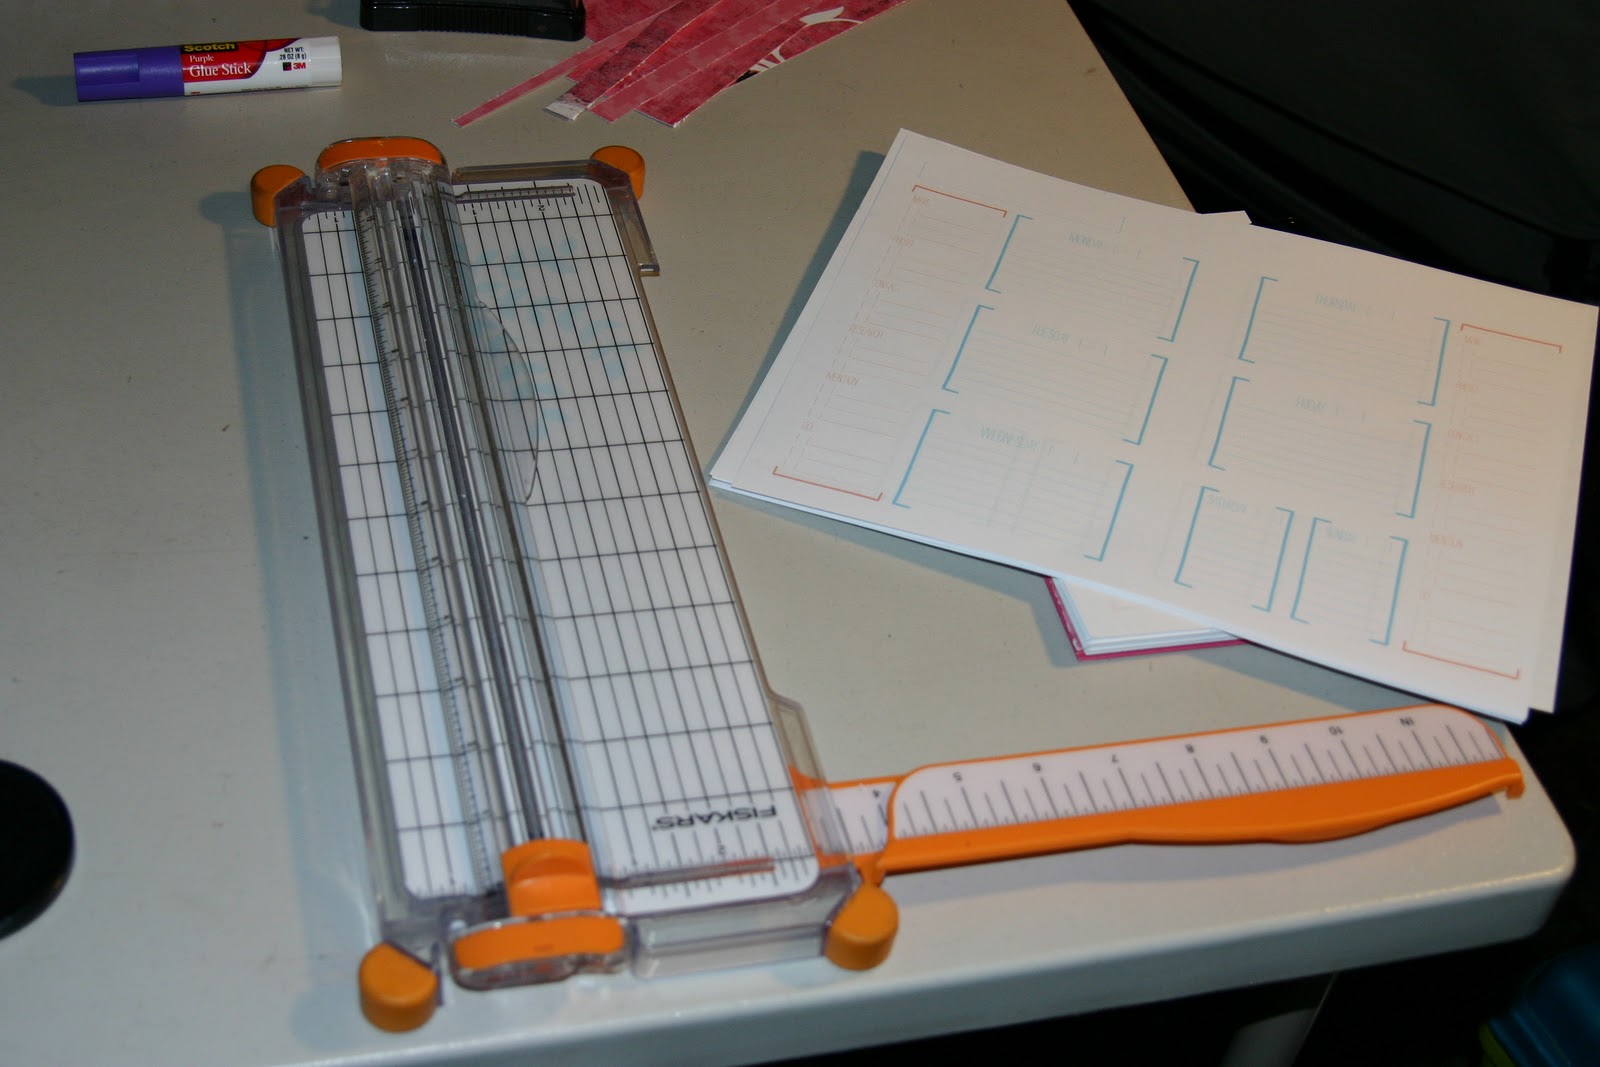
I started out by printing out the pages. I printed on both sides of the paper. I made enough for just under a year and a half. I did 35 sheets front and back and 1 sheet just on the front. I then used my paper cutter to cut the pages in half so that they were 8 1/2 by 5 1/2. The reason for the page that I only printed one-sided was so that the planner wouldn't start and end in the middle of a week.


                                         Once all the papers are cut, make sure they are all facing the same way. You have to use your binding tool to punch holes along the inside edge. The holes should go along where your cut was made down the center of the page. I like the Cinch tool because you can pull out the punches you don't want to use. It has 12 punches and I needed 16 holes for the planner. In order to achieve that I simply punched the first set of holes on all of my paper, then pulled out all but the fist 4 punches, flipped my paper over, and punched the remaining holes needed. Tip: always try punching on some scratch paper first to make sure your holes will be in the right spot.


Now that all of the pages are ready, we need to make the cover. Instead of me trying to explain all the details, I decided to just give you the link to the site where I learned how to make them. Click here to learn to make your own book covers. I may be wrong, but I think it tells you to make the cover slightly bigger than your paper. I didn't. My covers are the same size as the pages. They give specific sizes for their paper, but just make sure that your cover paper is an inch wider AND taller than your cardboard. Instead of cover the inside covers with an index card, I use matching paper or other paper that corresponds with the cover paper. I cut that paper about a quarter of an inch smaller than the cover in both height and width.


Once the covers are made, punch holes in the covers just like with the pages. Use an o-ring to bind your book together as it shows in the tutorial. On Robyn's and mine I cut another piece of paper slightly smaller than the cover to put on the cover as shown below. On my sister's, I had simply printed on the cover paper before gluing it to the cover.
Robyn's with her blog name printed on it
My sister's


My planner

On the inside of all the planners, I created a corner pocket using extra paper. The insides of mine and Robyn's planners are shown below.
Inside of my planner with my blog name on the first page.
I used more extra paper and some stickers to create Robyn's inside page.
To create the letters on my planner, I used a cricut machine and some extra paper. I then used a sticker maker to easily put the letters on.

After I had made the first two and just had mine left to make, an idea struck me. It would be so nice to have a ribbon book mark attached to the planner! So, I did just that. Before gluing the inside cover paper onto the back cover I put in a grommet. I simple threaded the ribbon through it and hot glued it to the inside back cover. I then glued the paper for the cover on so that you don't see the excess ribbon.


So, there you have it! How to make your own Blog Planner! I hope this was interesting and educational! I just love the things you can find on Pinterest!

Monday, January 23, 2012

January Pinterest Trial: Owl Cupcakes

Sorry I've been gone so long. Really, there is no excuse, so I'm not going to make one. Please just accept my apology.

I've become a little addicted to Pinterest and decided that I need to try one of my pins every month. This month I'm trying a pin from my Cooking board. I saw these really cute owl cupcakes and wanted to make them for a friends birthday. Unfortunately I got snowed in and she never got to see them.

Our walkway from the driveway to the front door

The path Carma and I dug to get the truck out!
The snow was so bad that we high-centered Carma's truck (yes, her big Dodge Ram truck) trying to get into the driveway. The second photo may not look like it, but the wall where we were throwing the snow is about 4 1/2 feet tall.

Anyways, on to the cupcakes! I used the items below (plus the eggs, water, and oil to make the cakes) for my trial.
I think they look less like owls and more like Grover the Muppet. I should have pipped the frosting onto the cupcakes to make it look like feathers, but I was tired from shoveling snow!
I think they are pretty cute, even if they don't quite look like owls! The one on the left looks better with the broken Oreos I used as ears. All in all I think this Pinterest trial turned out great! It defiantly got my mind working with ideas to decorate cupcakes!

Friday, October 28, 2011

Harry Potter Style Letterboxing

Well, it's done! All of the stamps that I carved for the marathon have now been planted as letterboxes for the letterboxing community to enjoy! In order to do this, I had to create a logbook for each stamp and a pouch for the stamp to go in. It took almost a month to make these! I used Wizarding books and items from the movies and books, tied them into each stamp, and then put a little explanation in each logbook so anyone who isn't some crazy Harry Potter freak (like me :p ) would understand how the logbook related to the stamp. By the way, if you would like to learn about letterboxing, click here.
 I had a fun time learning how to make codex books. Sewing the packs of folded paper together, creating the cover and binding, and gluing it all together was a larger task than I thought it would be, but relatively simple once you know what you're doing.
Ron's logbook / Dementor logbook

Sorting Hat logbook / Deathly Hallows logbook

Ron's Emotional Range bonus box / Weasley is our King logbook

Slytherin logbook / Grindylow logbook

Ravenclaw logbook / Gryffindor logbook

Hogwarts Crest logbook / Hedwig's logbook

The front of the Hogwarts Crest logbook

Hufflepuff logbook / The Fallen Heroes logbook (Sirius & Dumbledore)


The Cauldron logbook / Harry's logbook

logbook for Weasley's Wizard Wheezes

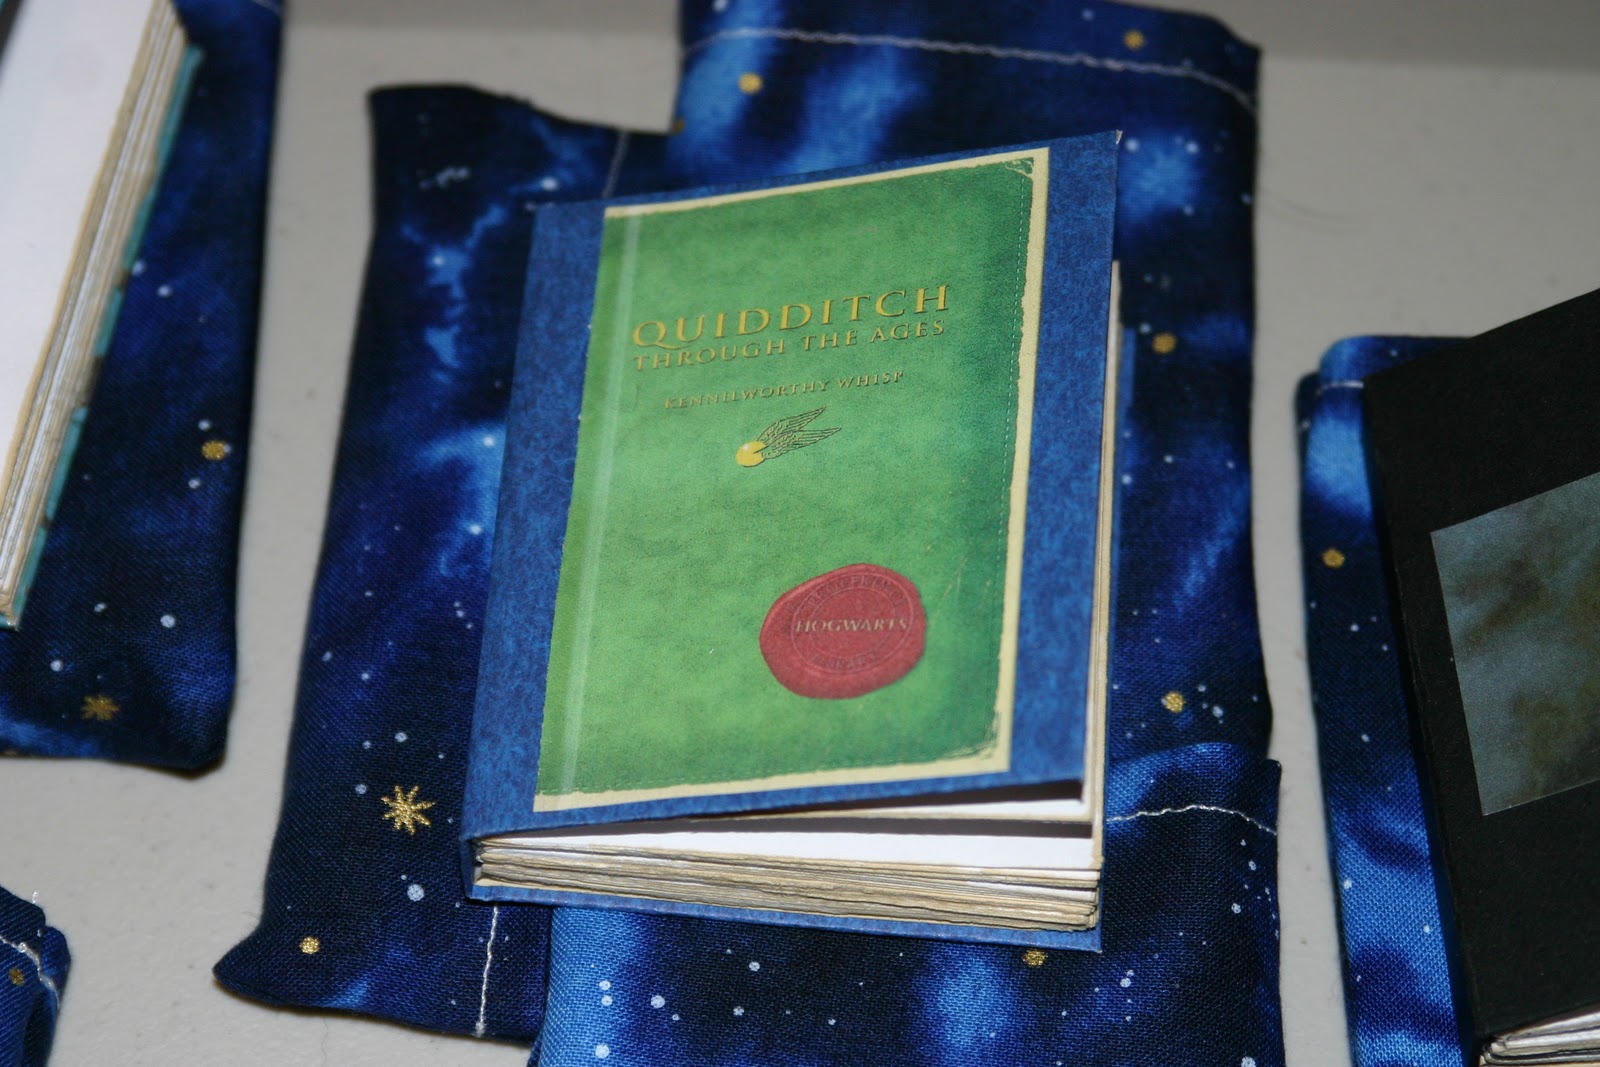
the Quidditch equipment logbook

logbook for the Dark Mark / Hogwarts School logbook

Hermione's logbook

Snape's logbook
 This is my favorite logbook that I made. It also took longer than any of the others. You can see why.
Hagrid's logbook

 The pouches that were made for each stamp. A big thanks to Carma who helped with this. She sewed them all (I don't touch sewing machines. They tend to break when I touch them.).
With a lot of help from Joyce, all 23 letterboxes got planted in just 6 hours. I would have had to do it in a couple of days if I had gone by myself.

I hope to have the instructions on how to make the Monster Book of Monsters up sometime next week.

October Road Trip

I'm a little behind on the blog, so I'm going to do a few posts real quick to get up to speed.               
I was over in Eastern Idaho a couple of weeks ago. Joyce and I went through Yellowstone and on into Jackson Hole before going back to her house. While in Wyoming, we stopped at the most photographed barn to do a little letterboxing. Unfortunately, the box was missing.

On our way back to the Boise/Idaho City area, we stopped at Craters of the Moon to do, what else, some letterboxing. I took some pictures outside the cave we went in to get one of the boxes. The caution sign just outside of the cave made me wonder. Does Santa have a hobby of spelunking during his holidays? And if so, does he tend to hit his head a lot?


This is the entrance to the cave we went into. The cave is 300 feet long, and pitch black. Joyce and I both had headlamps on and Joyce had a small flashlight. Even with our lights, we could barely see more than a couple feet in front of us. I have to say that I'm glad there weren't any bats, not because they scare me, but because I was already out of my comfort zone just by going in the cave and I didn't need furry winged things flying around.


 Below is the view of the trail we walked to get to Beauty Cave. The wind was so strong, and kept catching on my pack, that I almost fell over a couple of times.


 I hid my spelunking letterbox behind these rocks! This is halfway down to the entrance of Boy Scout Cave. We didn't go in this one, it's covered in ice all year round and you have to crawl in most places.


Well, those were the highlights of my short road trip this month!